Categories
- Curriculum: Art | Dance & Music
- Age/Grade: Elementary 2
- Subject: Drawing | Performance | Printmaking
- Materials: Mixed Media | Pencils
- Institution: Kinderatelier PUNT 5
- Location: Rotterdam, The Netherlands
- Duration: 6 - 9 Classes
Description
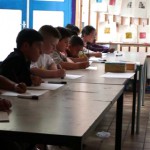
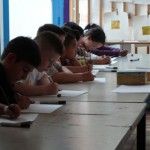
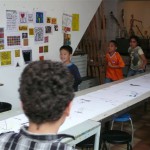
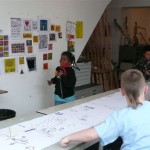
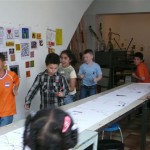
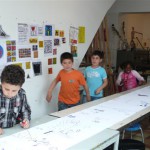
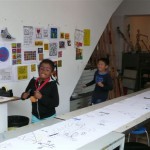
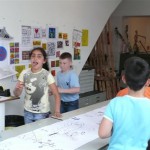
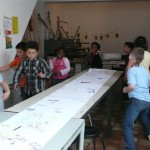
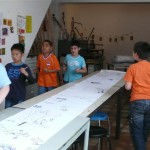
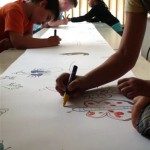
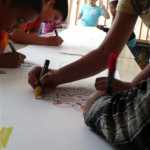
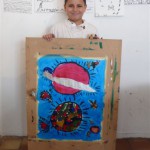
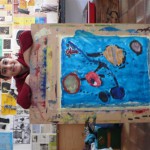
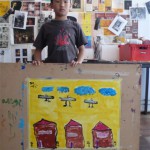
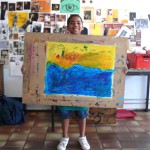
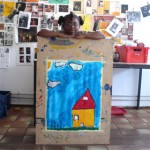
Children from the Netherlands explore a unit on Keith Haring, including Tee-shirt stamping and collaborative, mural-sized drawings.
Objective
To learn about Keith Haring- his work and his symbols.
To learn how we can tell stories without using text.
To explore paint colour and drawing, and learn new techniques like linoleum prints, mixing colors, etc.
Resources
Books postcards and images from the internet of Keith Haring's work.
Materials
LESSON 1
pictures, hung in the room
Paper
Pencils
music
LESSON 2 & 3
Stamp foam
wooden blocks
LESSON 4
Paper
Paint & painting supplies
LESSON 5
Linoleum cut plates
Test press
Textile ink
Clothesline + clothespins
Rollers
Palette knife
LESSON 6 & 7
T-shirts
Textile ink
Fabric markers in several colours
Procedure
LESSON 1
Marathon
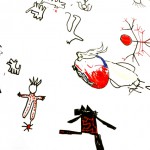
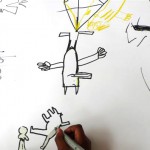
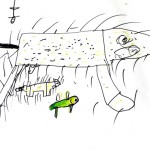
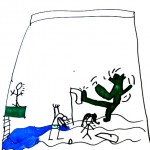
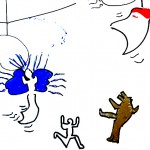
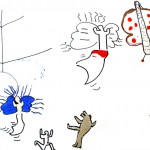
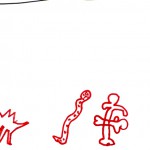
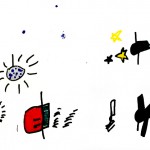
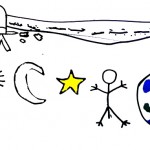
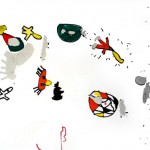
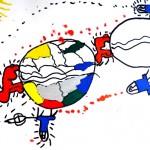
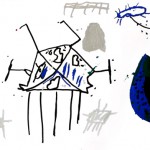
Look at the life and work of Keith Haring. Talk with the children concerning comics, silent films, language without words, and symbols. As them what they think Haring's symbols mean. Discuss ways of drawing with the children that involve minimal outlines and limited colour fill. Allow them to make 5 drawings like this, using stickers and sponges in addition to paint. The children will work to music. When the music stops their drawings must be complete.
5 Ideas for drawings:
1. Symbol of something that twists.
2. Symbol of something small.
3. Symbol of something that comes from outer space.
4. Symbol of opposites.
5. Symbol made out of words.
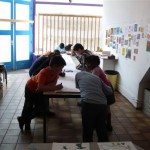
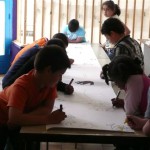
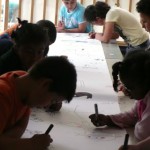
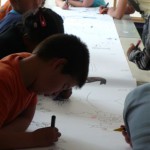
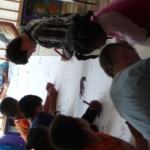
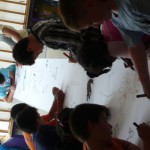
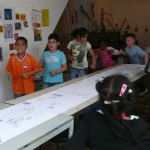
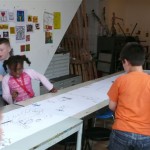
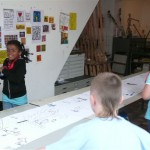
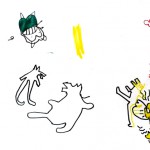
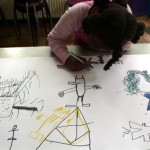
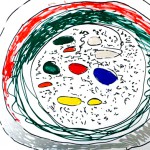
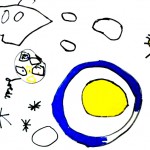
A large role paper is rolled out, the task is to draw small, running things in the style of Keith Haring while the music is on. When music stops children must run, and when the music starts again, then they must stay where they've landed, and draw another small, running figure. Students can add on to figures others have drawn, as the picture develops. When everyone is tired, the group can quietly select their favorite parts of the drawing to colour.
LESSON 2
Comics & Stamps
We will consider a protagonist for 5 comic strips, and will design symbols for each of their actions in the strips. We'll use pencil, and then transfer our symbols to a stamp of the protagonist, made from wood/linoleum.
LESSON 3
Comics
We finish the stamp and make texts for the stamps, thinking of the text as part of the image itself.
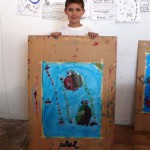
LESSON 4
Paints
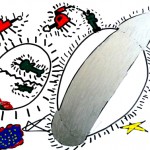
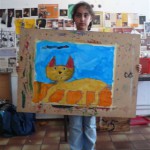
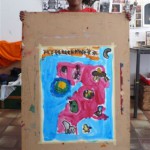
We will make a painting on large format, the basis of your painting is the comic strip. The stamps can be used, as well as paints. We paint the open areas with colour, and the outlines with black paint.
LESSON 5
Linoleum Chromotype
Explanation and demonstration of the linoleum technique. The children now make their own linoleum chromotypes. Their designs should be 2 colours plus black for the outline. Each child will press their Linoleum chromotype on paper and on a T-shirt. First, we start with one color ink, then the next colour, and last we print the black ink.
LESSON 6 & 7
Linoleum chromotypes on T-shirts Continue with producing and printing with the Linoleum chromotypes. When students are finished with this part, they can decorate their T-shirts further with fabric markers and paint. On the back they can stamp their name or use the protagonist stamp they made.